
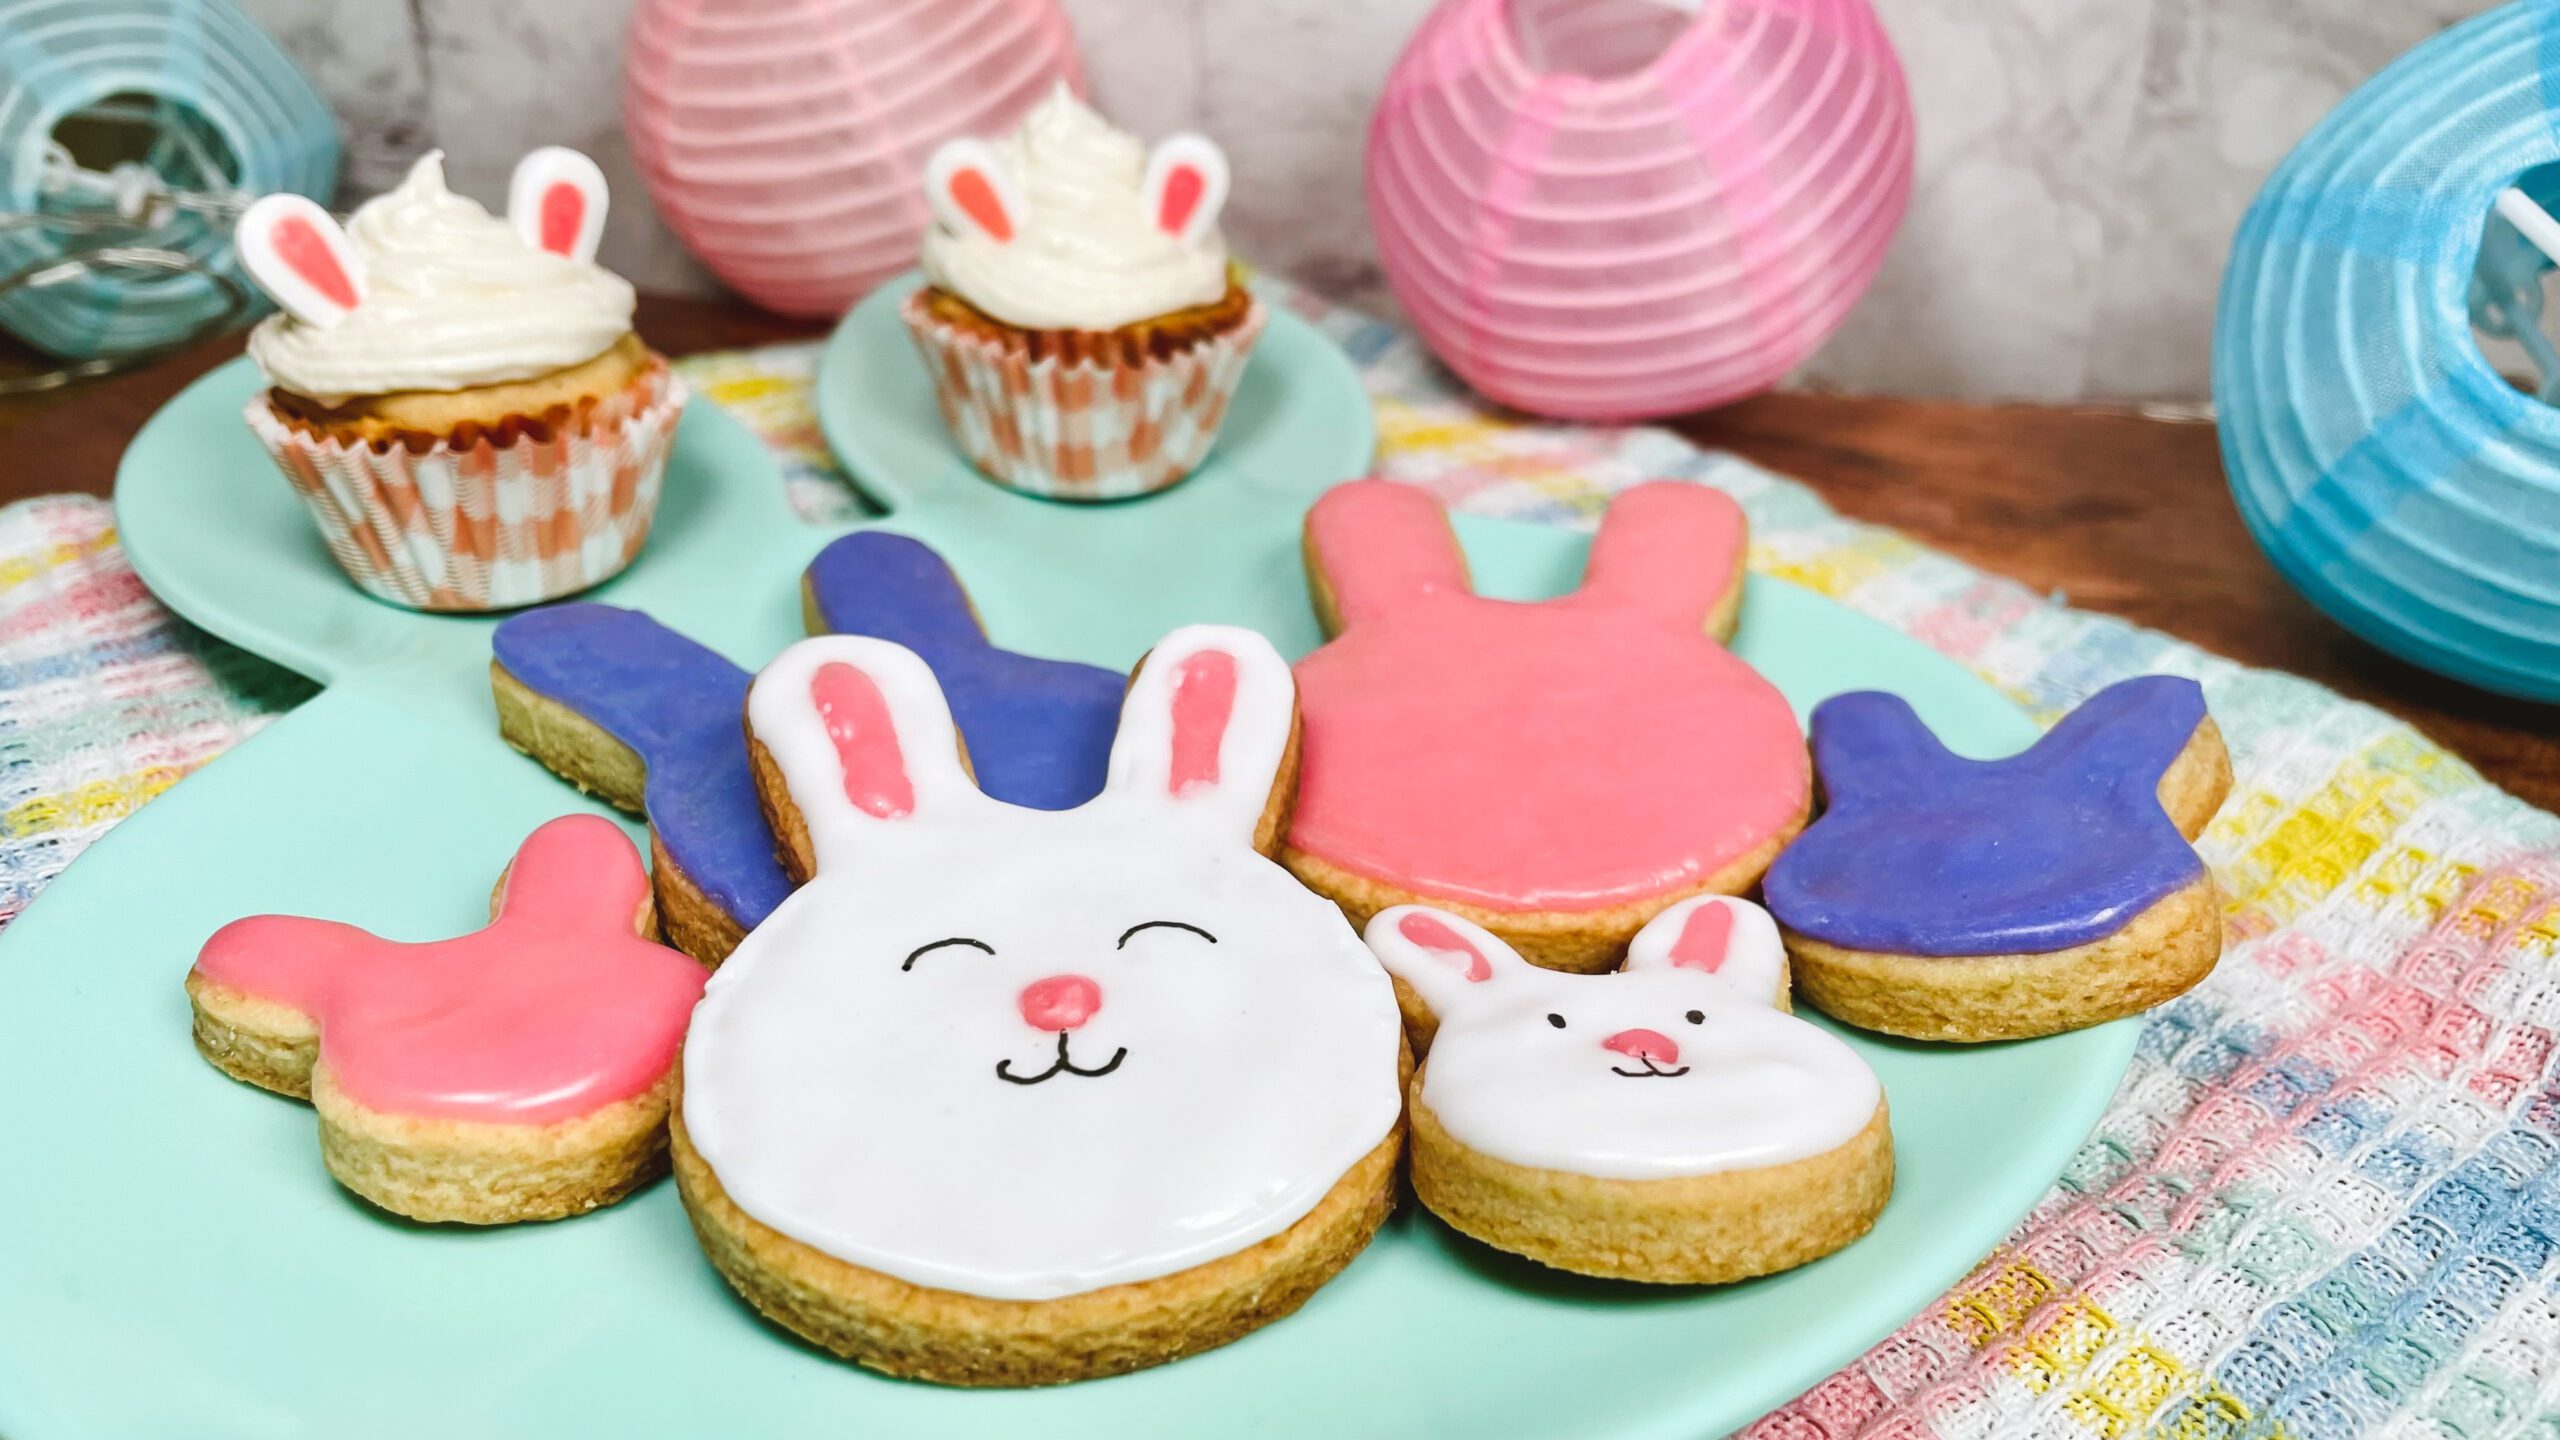
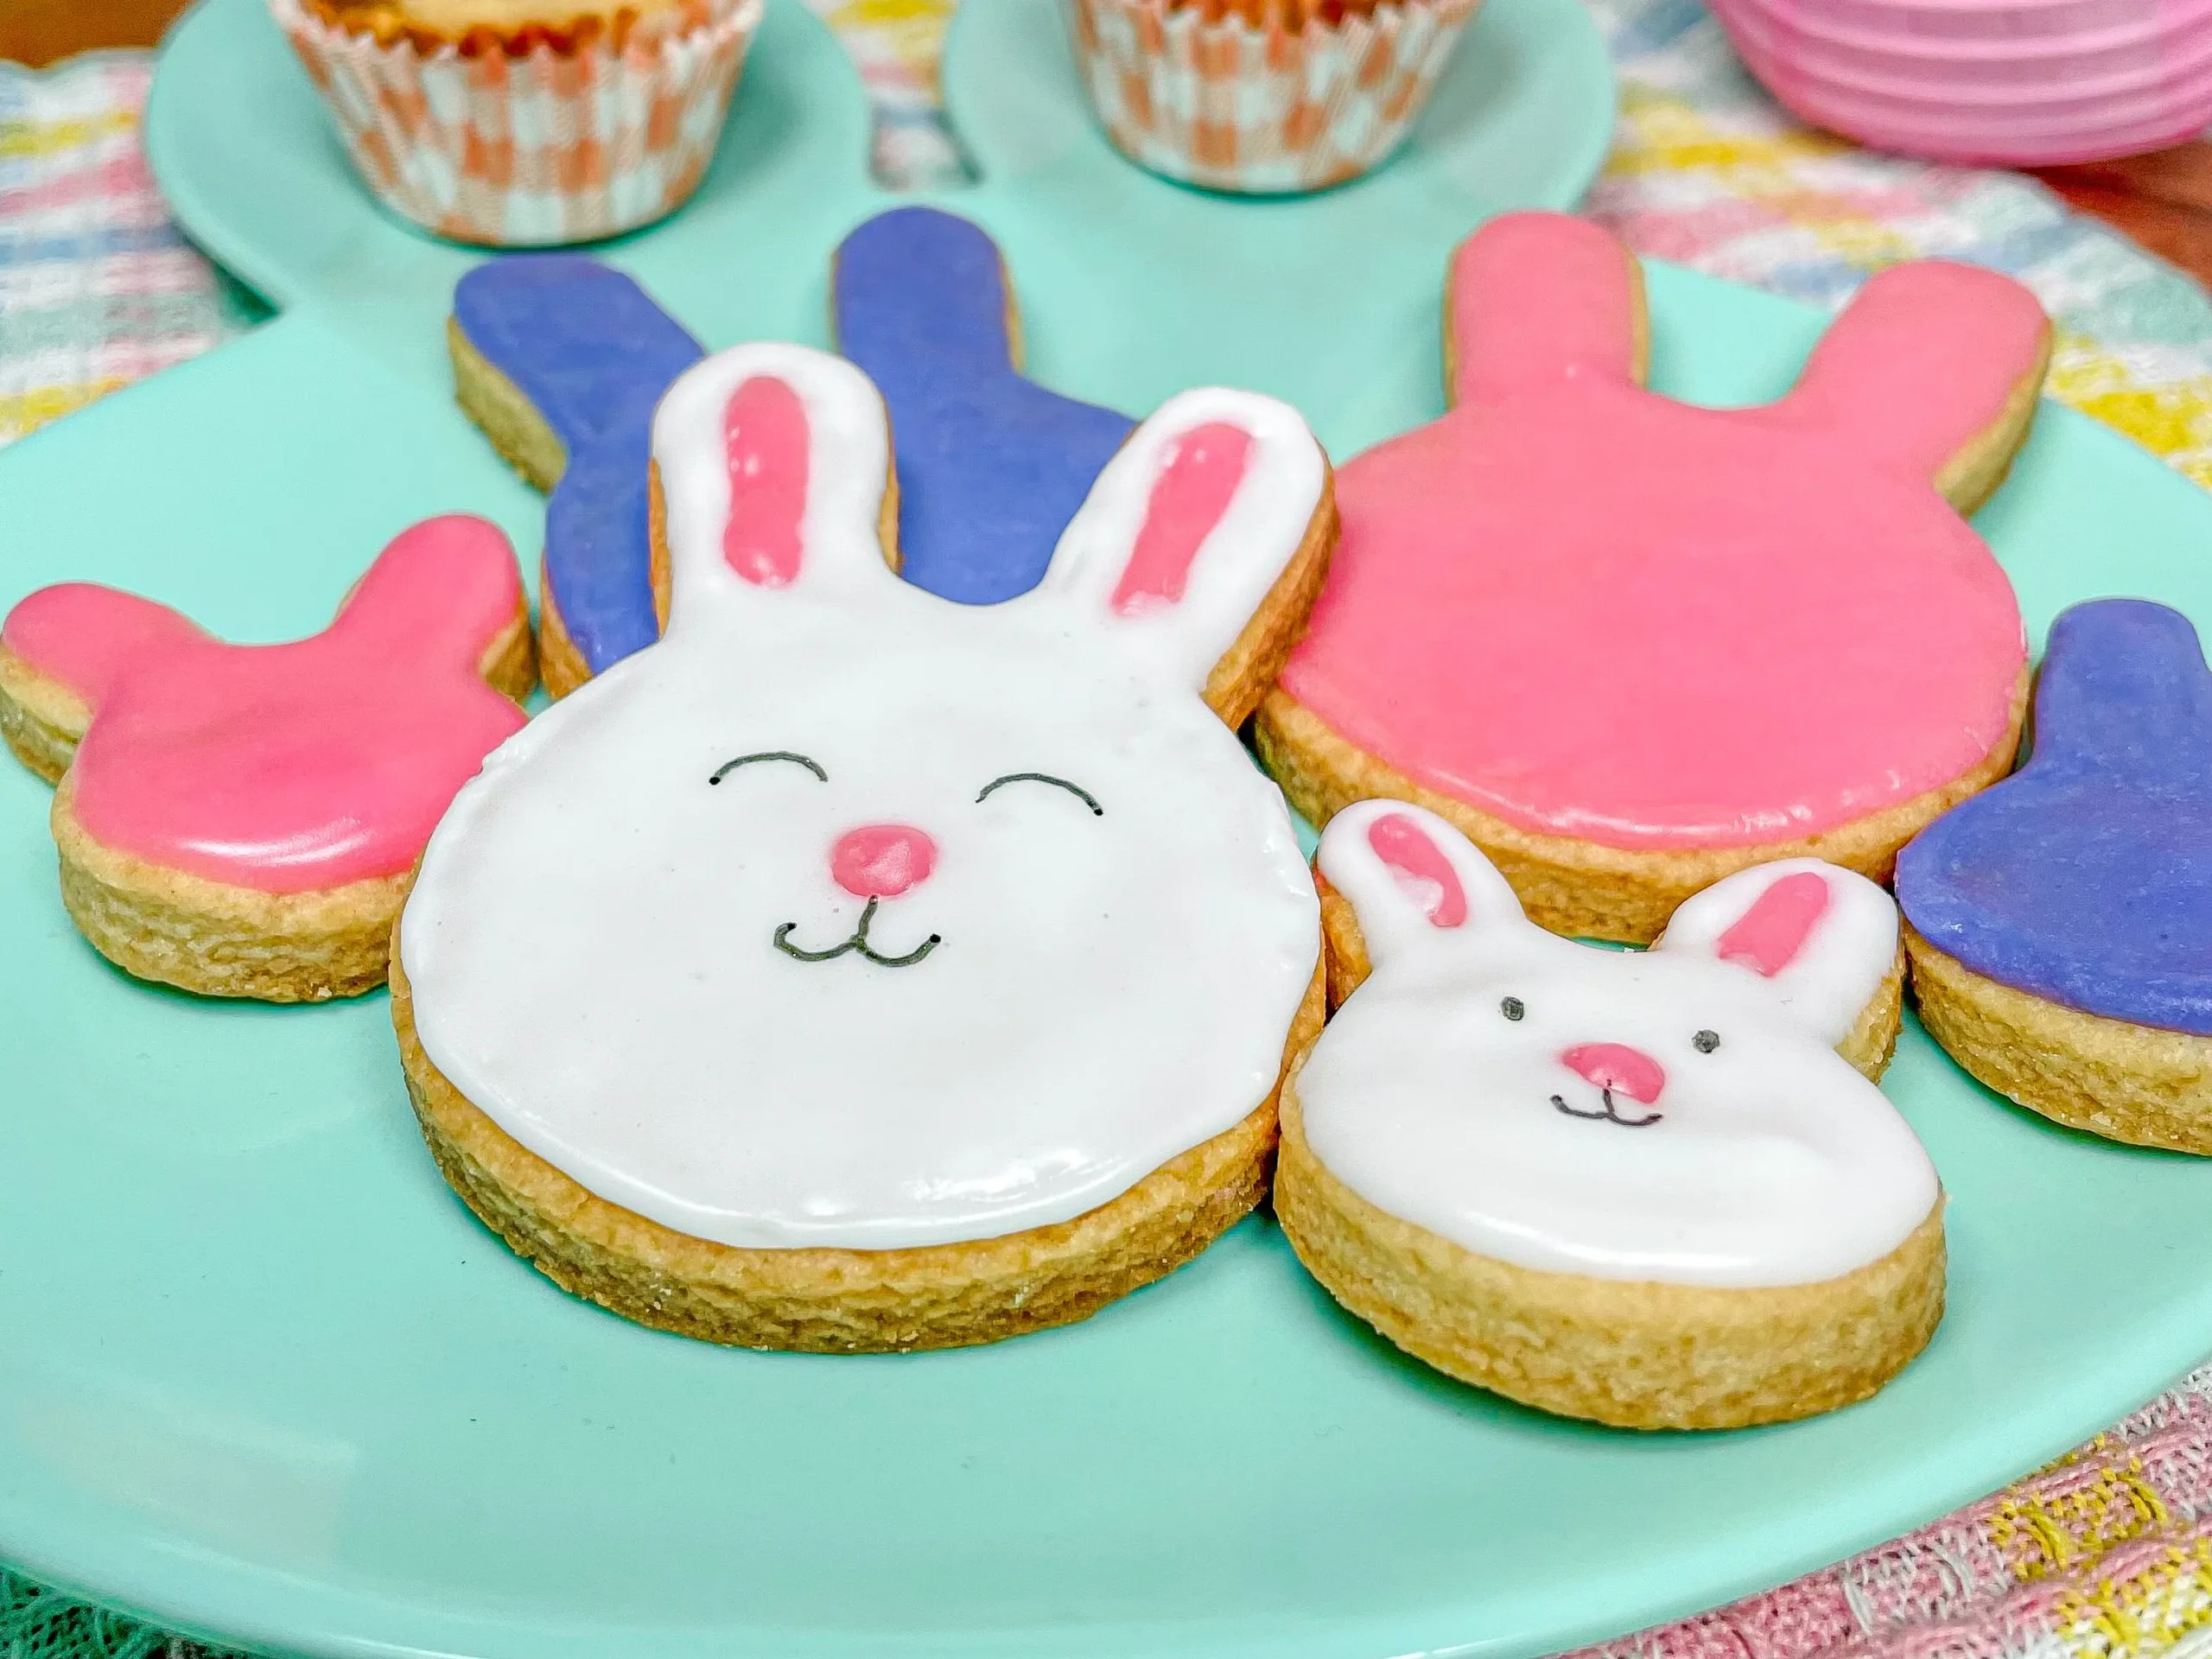
Bunny-Shaped Butter Cookies
These Easter bunny cookies are perfect for sharing with family and friends during the Easter season.
Their buttery flavor and delicious texture will delight children and adults alike.
They’re also a fun activity to enjoy with little ones, who will love shaping and decorating their own bunnies.
Ingredients
For the Cookies
- 2⅓ cups all-purpose flour
- ¼ teaspoon baking powder
- ⅛ teaspoon salt
- 2 sticks unsalted butter, softened to room temperature
- ⅔ cup sugar
- 1 large egg
- 1½ teaspoons vanilla extract
For Decorating
- White, pink, and purple cookie icing, or your preferred colors. You can use store-bought icing or make your own.
- Black edible marker
Equipment
- Bunny-shaped cookie cutters in different sizes, optional
- Electric mixer
- Rolling pin
- Baking sheet
- Parchment paper or silicone baking mat
- Plastic wrap or resealable bags
Instructions
- Combine the flour, baking powder, and salt in a medium bowl.
- Using an electric mixer, beat the butter and sugar on medium speed for approximately five minutes, or until the mixture becomes lighter and fluffy.
- Add the egg and vanilla extract, then continue mixing on medium speed until fully incorporated.
- Gradually add the flour mixture and beat on low speed until everything is combined.
- Remove the dough from the bowl and gently knead it on a clean surface.
- Divide the dough in half, wrap each portion in plastic wrap, and refrigerate for at least one hour.
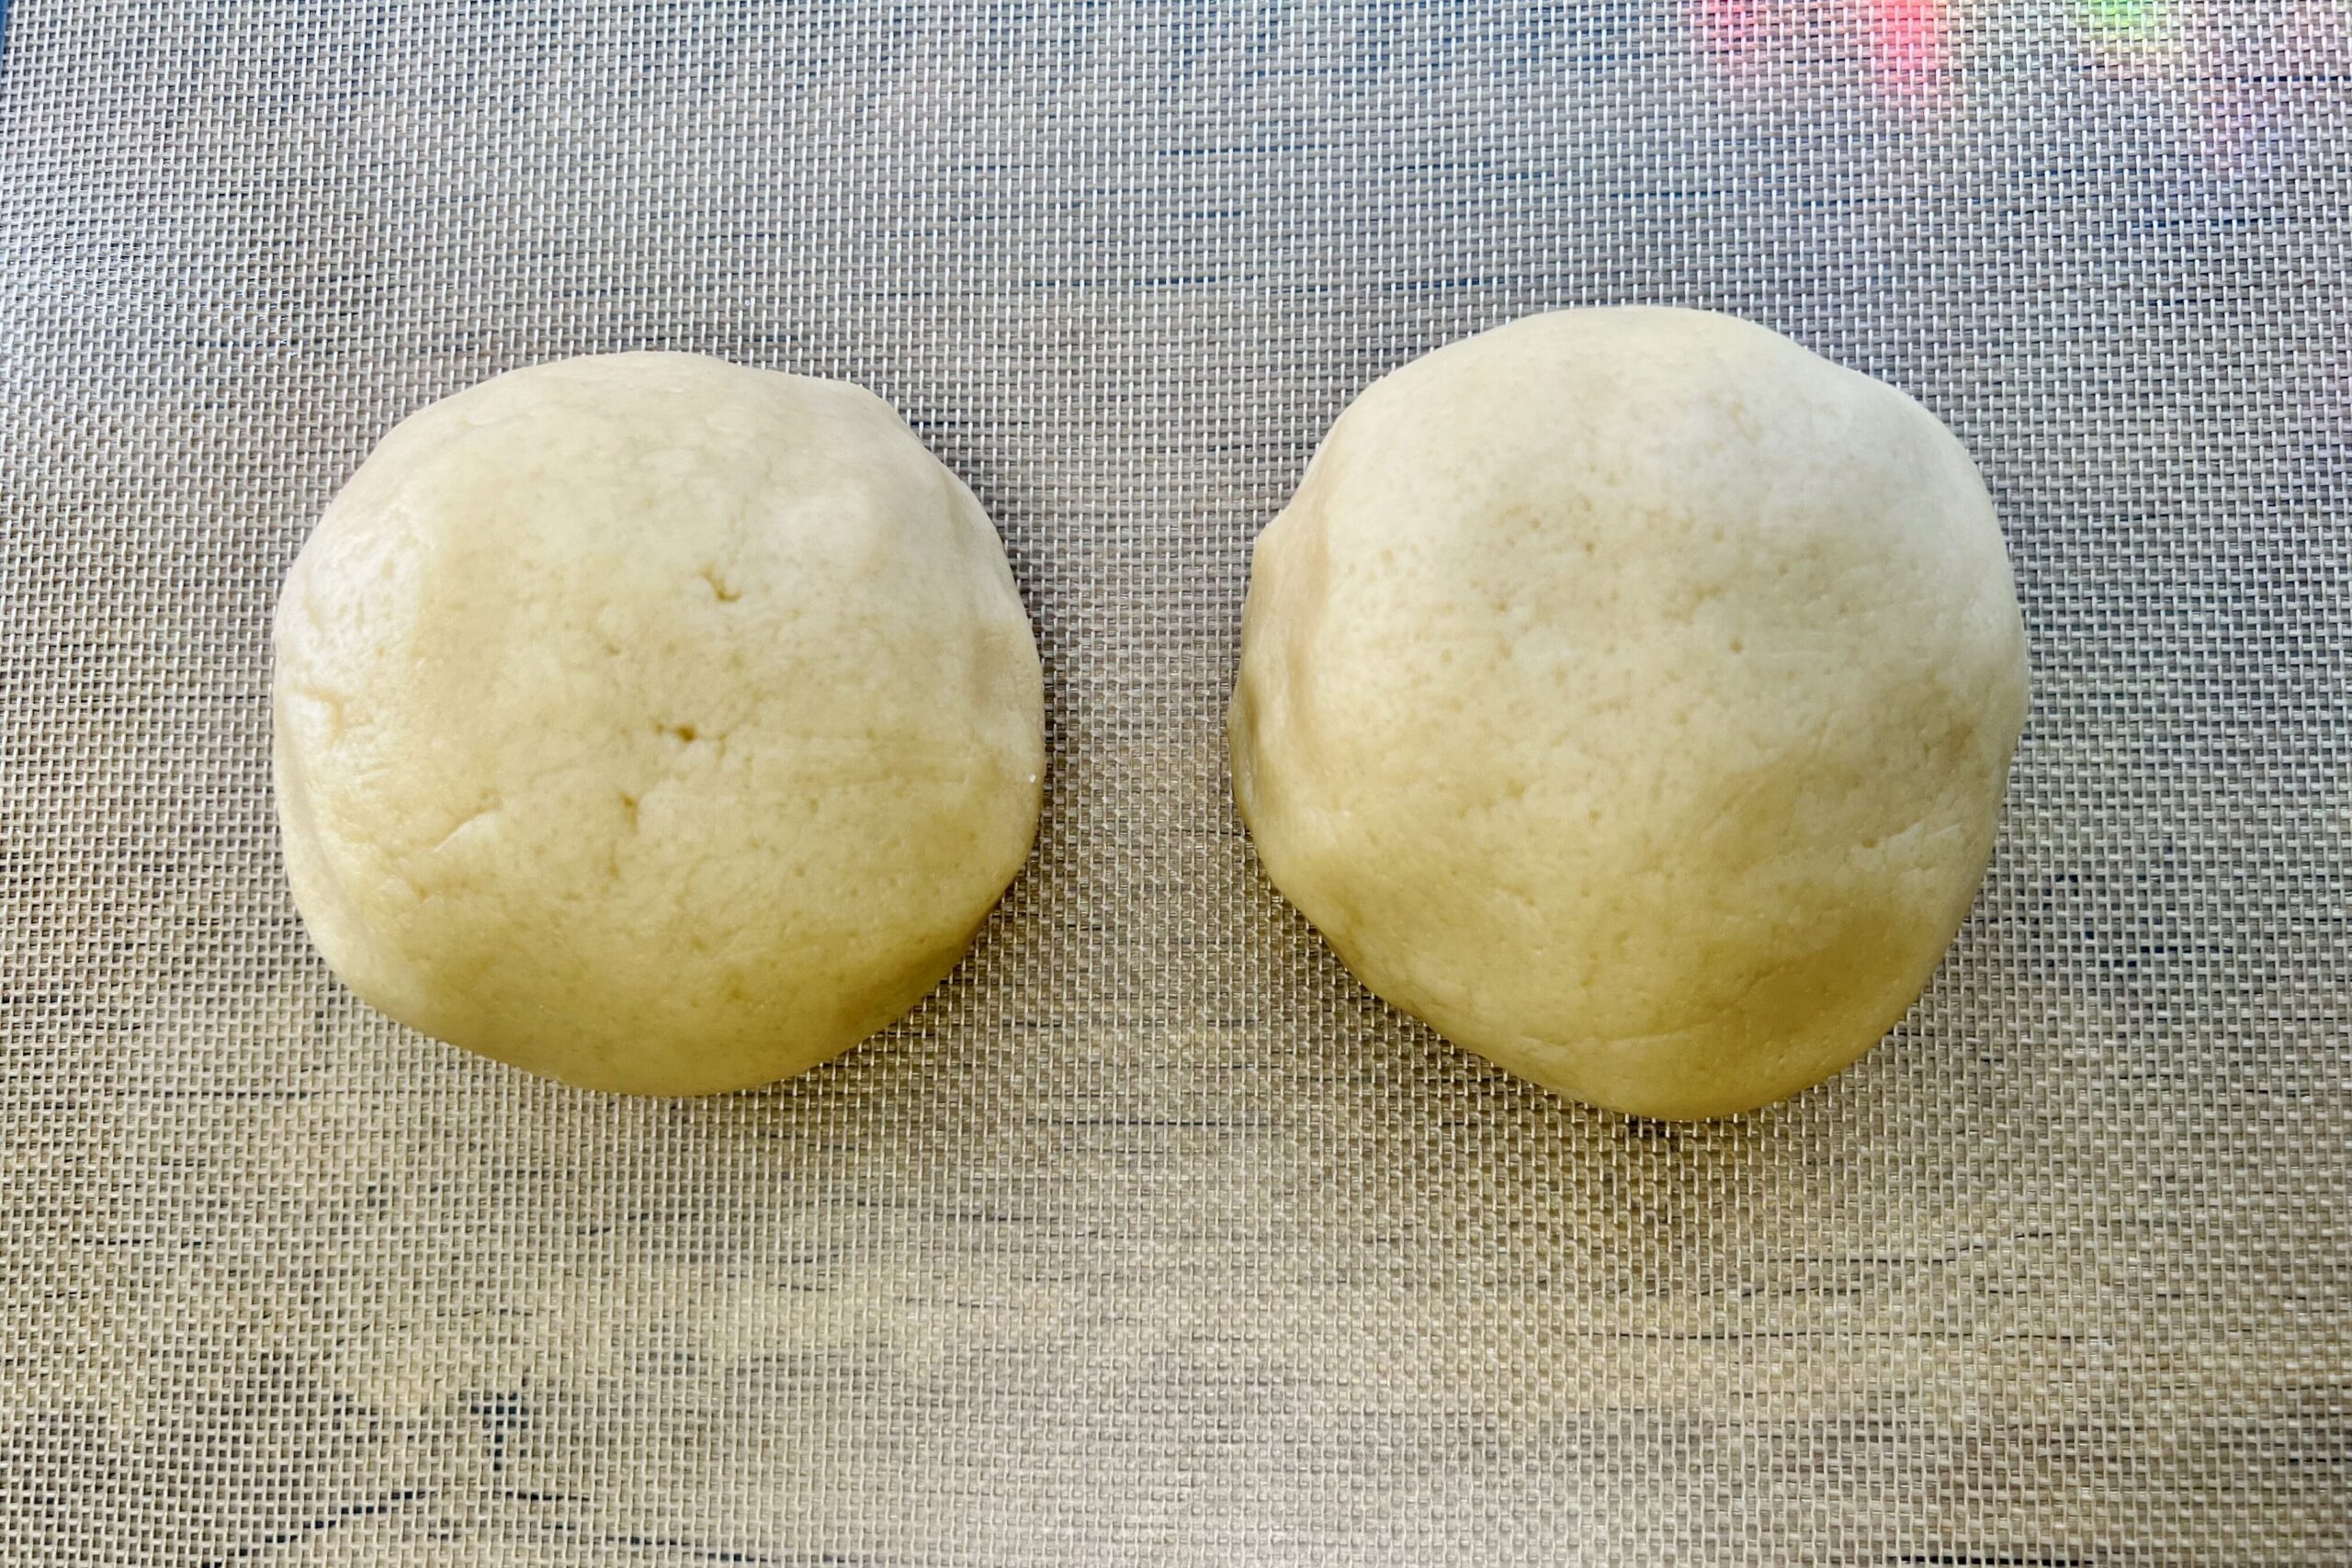
- Line a baking sheet with parchment paper or a silicone baking mat.
- Preheat the oven to 350°F (180°C).
- Remove one portion of dough from the refrigerator and roll it into a sheet approximately ¼ inch (½ centimeter) thick.
- Use the bunny-shaped cookie cutters to cut out as many cookies as possible, then arrange them on the prepared baking sheet.
- Repeat the process until you have prepared all the cookies you need.
- Bake for approximately 12 minutes, or until the kitchen smells buttery and the edges of the cookies begin to turn golden.
- Remove the cookies from the oven. Allow them to cool briefly on the baking sheet before transferring them to a cooling rack.
- Once completely cool, decorate them with icing.
Decorating the Cookies
- Place a small dot of pink icing on each bunny’s face to create the nose. Add pink lines inside the ears and allow the icing to dry.
- Outline each cookie with white icing, working around the pink details, and then fill in the remaining spaces.
- If air bubbles appear in the icing, gently pop them with a toothpick.
- Decorate the remaining cookies with pink or purple icing using the same technique.
- Allow the icing to dry completely before drawing the bunnies’ faces.
- Use the black edible marker to draw the eyes and mouths.
And that’s it! Your Easter bunny cookies are ready to welcome the Easter Bunny.
Until the next recipe!
Tip
If you’re making cookies in different sizes, bake cookies of the same size together. Smaller cookies may burn before larger cookies finish baking.